Are you looking to create multiple accounts under your user account? A child account allows you to create multiple accounts for different purposes without having to create a new account for each. In this article, we will walk you through how to create a child account in your user account.
Step 1: Upgrade your account
Log in to your user account and navigate to the Administration section. Go to the Security Setup and click on the Update Resources option. This will upgrade your account to allow you to create child accounts.
Step 2: Edit permissions
Once your account is upgraded, go to the Roles section under Security Setup and select Edit Permissions. Ensure that the invoices permission is selected correctly. Save your changes and log out of your account.
Step 3: Create a plan for the parent account
Next, create a plan for your parent account and set custom pricing.
Step 4: Create a PPPoE, DHCP, or static account
Create a PPPoE, DHCP, or static account for your child account.
Step 5: Create a child account
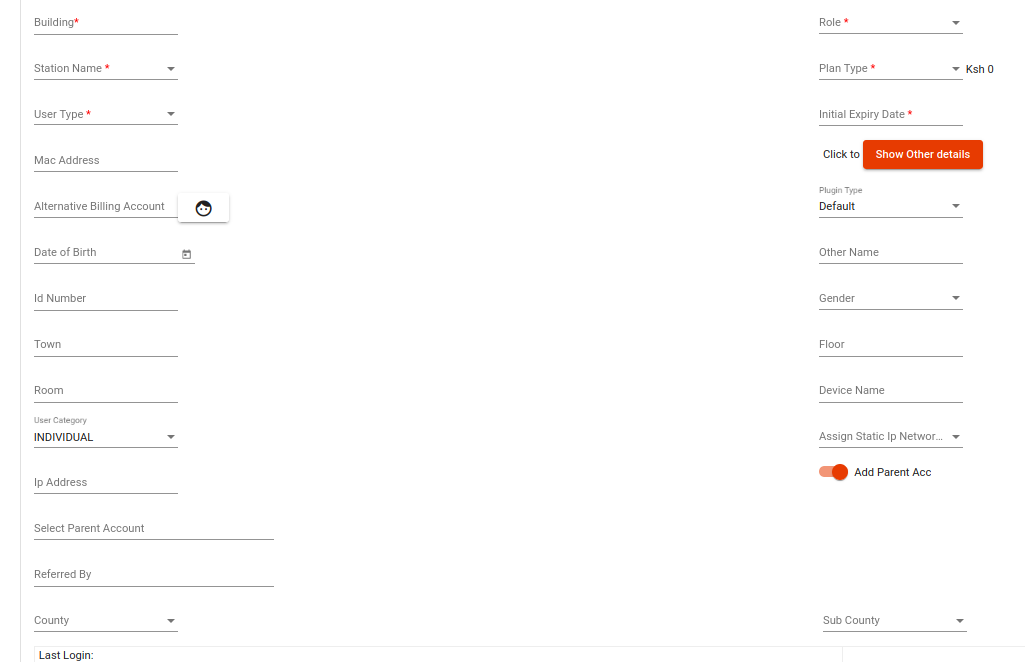
To create a child account, go to the Add User section and create a PPPoE account as you normally would. Click on Show Other Details and then click on Add Parent. Search for and select the parent account you created in Step 3. Click Save to create your child account.

Step 6: Unlink a parent from child

To unlink a parent account, go to the Administration section, click on Security Setup, and then click on Users. Click on the Patron/Parent Accounts option. This will show you a list of all the accounts that have child accounts. Select the user symbol under the Full Name column to see a list of child accounts. Click on Unlink to unlink the parent account.


