Please connect to mikrotik and open winbox
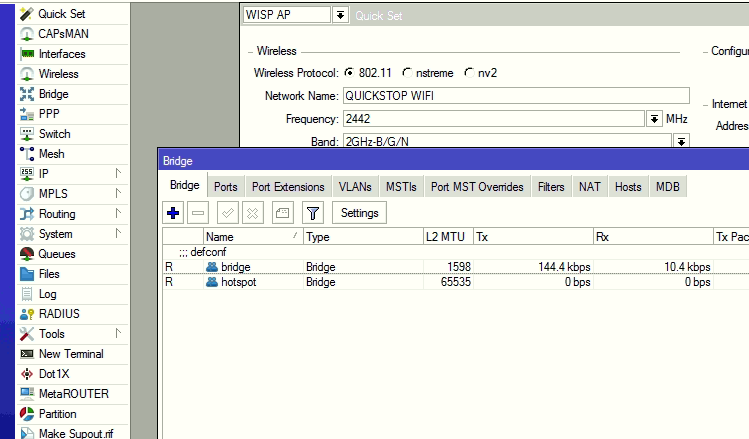
Create Bridge. #
Click Add ( + ) and set the name of the bridge to hotspot
Assign IP address to Bridge #
Bridge Hotspot #
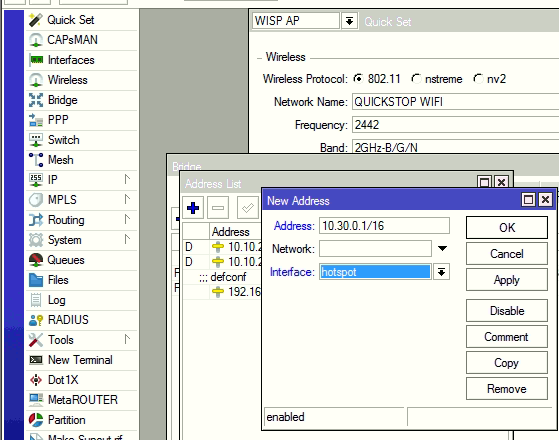
On the left menu,Click IP and on the drop down click addresses.
Click add new.
Set address to desired address e.g address 10.0.0.1/16
Select the interface hotspot created on the previous step.
Click apply to auto populate the Network.
Setup Hotspot with Hotspot setup wizard #
Click IP and select hotspot.
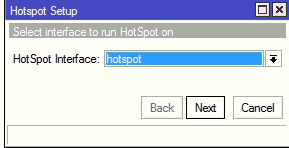
Click Hotspot Setup

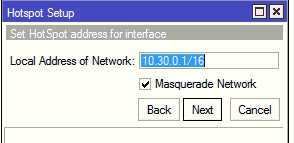
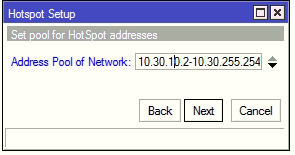
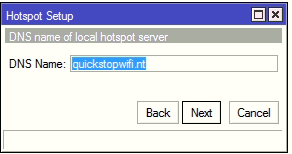
Follow the steps and tune according to desire.e,g Select hotspot interface as hotspot bridge created in the steps above then click Next
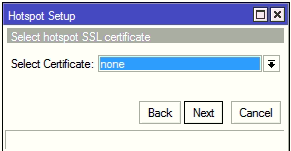
Ensure none and select Next.
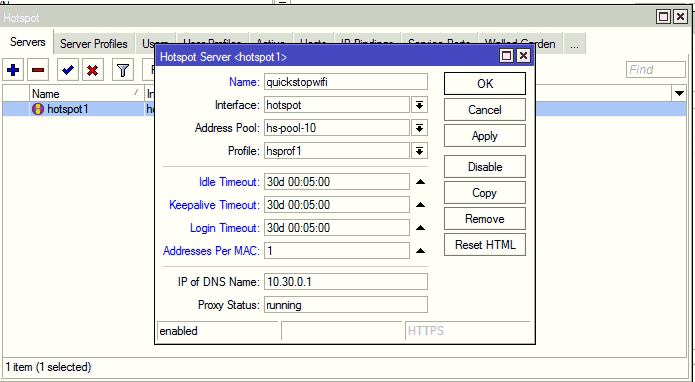
Click ip ->Hotspot and Navigate to Servers,The first tab.Click first entry and match it with settings below,ensure the name matches your brand and click OK
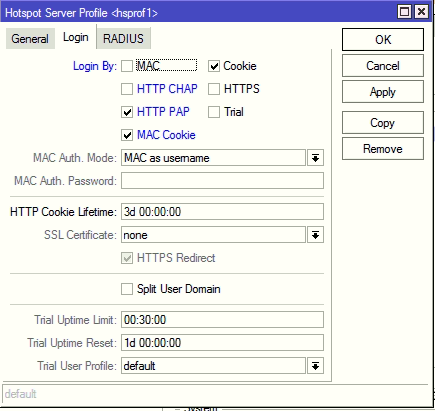
Edit Hotspot server Profiles and click to edit first profile. Match the login by as below, HTTP PAP,MAC COOKIE and Cookie,UNTICK HTTP CHAP.
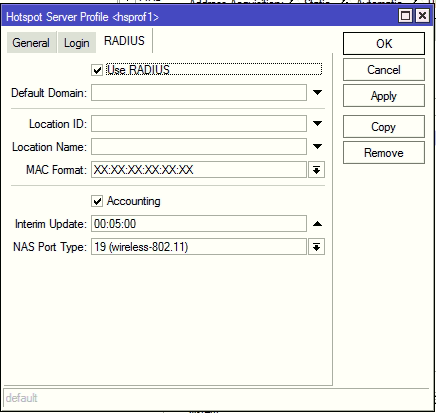
Click RADIUS tab to permit radius authentication as below note the Interim Update ,Use RADIUS and Accounting.
Click the Users and ensure you delete the default user created shown below.

Add Walled Garden Rules #
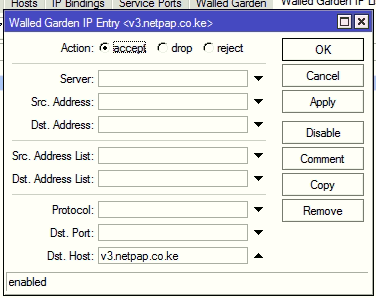
- Under IP -> Hotspot -> Walled garden IP tab.
- Click Add New.
- Under dst Host v3.netpap.co.ke then click OK
Repeat the 3 steps to add walled garden rules for
- m.netpap.co.ke
- n.netpap.co.ke
- v4.netpap.co.ke
- www.tawk.to
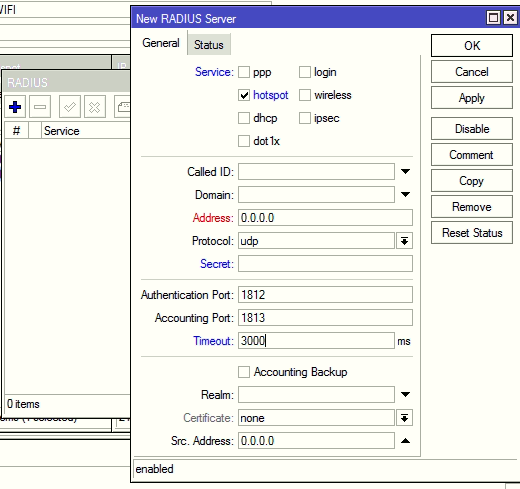
RADIUS SETTINGS #
Navigate and Click RADIUS and the click Add (+)
Please request for the address and secret from Netpap staff.
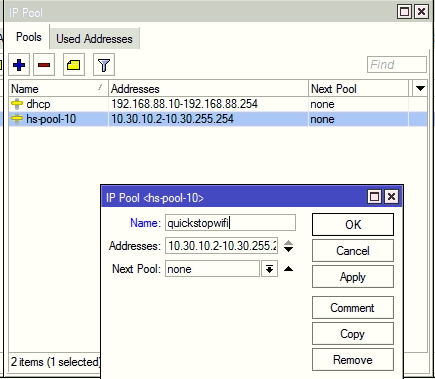
Edit pool. #
Navigate to IP -> Pool
Select the hotspot pool assigned by the hotspot and match the name of the pool to match the plan address pool.